
The Ultimate Guide to Tackling Water Damage: 7 Steps to a Dry and Healthy Home
Water damage can strike unexpectedly, turning a peaceful home into a hazardous zone and threatening your property’s structural integrity. Whether it’s a burst pipe, a sudden flash flood, or a persistent drip under the kitchen sink, acting quickly and knowledgeably is crucial. In fact, industry data shows that around 1 in 50 insured homes has a property damage claim caused by water or freezing each year.
You don’t have to panic when the waters rise. Let us help you navigate the challenges of water damage with this comprehensive roadmap, designed to help you restore your home to its former glory while safeguarding against future incidents.
1. Act Quickly: The First 24 Hours Are Critical
When it comes to water damage, the clock is ticking. Mold and mildew can begin to grow within just 24 to 48 hours of water exposure, compounding your property damage and creating severe health risks.
Your immediate priority should be safety and containment. First, turn off the main water supply to stop the flow of water. Next, shut off the electricity in the affected areas to prevent a dangerous shock hazard. Once it is safe to enter the space, pull out your smartphone and take clear photos and videos of the damage. Documenting everything before you start cleaning up is a vital step for ensuring a smooth insurance claim process.
2. Identify the Source and Stop It
You can’t effectively dry out a room if water is still trickling in. Take a moment to locate the exact origin of the water leak or intrusion. Common culprits include aging water heaters, leaky washing machine hoses, and damaged roofing.
If the leak is coming from a visible pipe, a temporary fix like waterproof tape or a pipe clamp can hold things together while you figure out your next steps. However, if the source is hidden behind walls or stems from a major plumbing failure, it is better to call a licensed plumber to handle the permanent repairs.
3. Assess the Damage and Prioritize Safety
Not all water damage is created equal. It’s important to differentiate between the three types of water categories: clean water (from a broken pipe or rain), grey water (from appliances like washing machines, which may contain chemicals), and black water (sewage backup or floodwaters, which are highly toxic).
Always prioritize your health. Wear protective gear, including rubber boots, gloves, and a mask, especially if you are dealing with grey or black water. If the flooding is extensive, or if you suspect the presence of contaminated black water, step away and call professional water mitigation experts immediately.
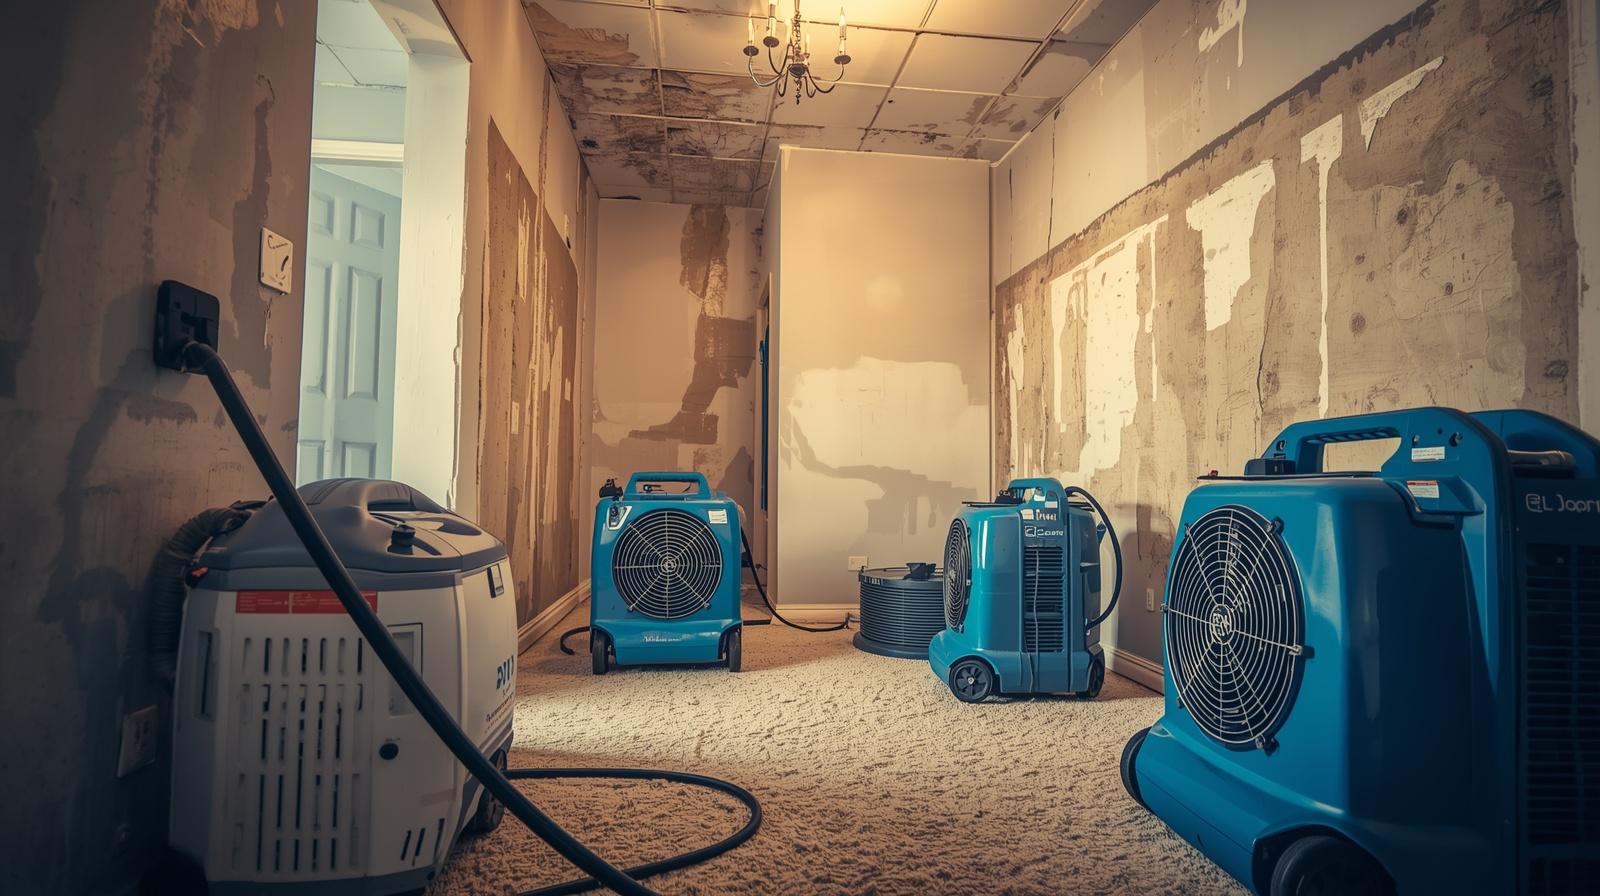
4. Remove Standing Water and Dry the Area
Once the area is safe and the source is stopped, it is time to get the water out. For minor pooling, old towels, mops, and buckets will do the trick. For larger amounts of clean water, renting a wet/dry vacuum or a submersible pump can save you hours of manual labor.
Thorough drying is your best defense against structural rot and mold. Open your windows and doors to encourage cross-ventilation. Bring in high-powered fans and dehumidifiers to pull moisture out of the air and the surrounding building materials. Keep these running continuously for several days to ensure the space is bone dry.
5. Clean and Sanitize Affected Items and Surfaces
Water damage leaves behind more than just moisture; it can harbor dirt, bacteria, and unpleasant odors. You need to thoroughly clean and sanitize all salvageable items and surfaces that came into contact with the water.
Wash down hard surfaces like tile, glass, and solid wood with a mixture of hot water and a heavy-duty household cleaner or a mild bleach solution. Unfortunately, highly porous items like soaked carpets, mattresses, and upholstered furniture often trap bacteria and mold spores. If these items were heavily saturated, especially by dirty water, it is usually safer to throw them away.
6. Repair and Restore
With the area clean and dry, you can begin the process of putting your home back together. This might involve minor DIY fixes or major structural overhauls, depending on the severity of the damage.
You may need to tear out and replace warped hardwood flooring, waterlogged baseboards, or ruined drywall. While painting and minor drywall patching are easy weekend projects, replacing electrical wiring, subflooring, or extensive plumbing should be left to the professionals to ensure your home remains safe and up to code.
7. Prevent Future Water Damage
The best way to handle water damage is to stop it from happening in the first place. Taking a few proactive steps today can save you thousands of dollars and countless headaches down the road.
Start by performing regular maintenance checks on your roof, gutters, and major appliances. Ensure your gutters are clean and that your downspouts direct water at least six feet away from your home’s foundation. For ultimate peace of mind, consider installing smart water leak detectors near your water heater, washing machine, and under sinks. These handy devices will send an alert directly to your phone the moment they sense unwanted moisture.
Dealing with water damage is incredibly stressful, but taking prompt, informed action can drastically mitigate the costs and protect your family’s health. If you are ever unsure about the safety or scale of a water intrusion, don’t hesitate to reach out to local water damage restoration professionals to get your home dry, safe, and comfortable once again.